Malware analysis (I) - How to get started in malware analysis
Note: some time ago I started this series of posts on basic malware analysis concepts, but for various reasons I put it on hold. Now I have decided to continue it, and this new version has a more updated content compared to the first posts I did at the time.
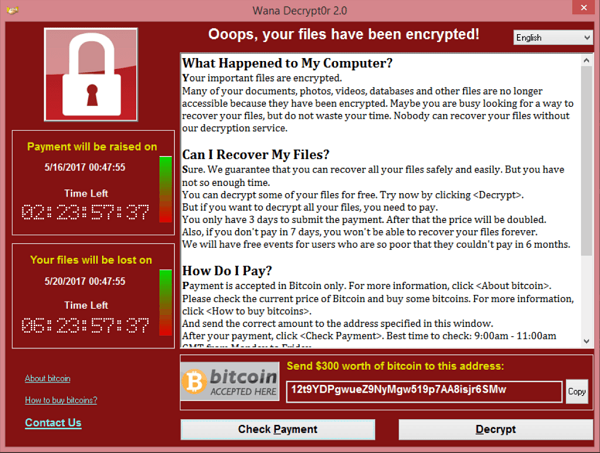
We are living in a world full of malware. Everyone has had a problem with some kind of virus or at least knows someone who has, and everyone knows or works in a company that has been attacked using some kind of malware.
Personally, I find malware fascinating. What fascinates me about it is how effective they are. They are carefully designed to do their job and there are such sophisticated examples that it is amazing to see how someone could have thought of programming something in such a way to exploit a vulnerability or to use certain kinds of evasion mechanisms.
Whenever I see news of a new ransomware, trojan or malware of some kind, I am curious to know how it works. I often skim through the technical reports that come out of the most publicised attacks in search of more information, and I’m often blown away by the analysts’ reports. Partly because of the characteristics of the cases they analyse and the ways in which the malware works, but also because of how they are able to obtain all this information.

These types of reports are made by malware analysts. Sometimes they are within a company’s DFIR teams, sometimes they are government or military organisations, and sometimes it is a random hacker posting on his blog about a sample he is playing with. What is clear is that they take a malware sample and analyse it. It’s a fascinating field that really catches my attention because it mixes different fields that I find very interesting. It mixes computer forensics with reverse engineering and low-level knowledge of systems. It’s like the perfect combo plate.
Lately I’ve been learning about this area. I even did my Master Thesis about it not long ago. In order to collect the interesting things I’ve been learning, I’ve decided to write a series of posts (and thus take over this blog a bit) about the process and some of the techniques that are used. I’m not an expert on the subject, but I hope to be able to help anyone who reads it and, why not, to help myself in organising my ideas.
What is malware analysis?#
Malware analysis consists of all those techniques and procedures that provide information about how malware works. The behaviour of any program, and therefore also of malware, depends on its code. If you have the original source code of a malware sample, you can simply look at it to find out how it works. No such luck in this case. The best you can have is some kind of obfuscated or compiled code, usually a binary.
There are many types of malware. Malware can be that bit of JavaScript that has snuck onto that website with the aim of mining crypto for someone and, in return, turning your computer into a heater. Malware can also be that .exe that has been slipped in as an activator for your cracked Office. Depending on the type of malware, it is analysed in one way or another.
In this case, I am going to focus on malware for Windows and for x86 and x86_64 architectures. If you think of malware examples, examples for x86 and x86_64 are probably the most common ones that come to mind, and they are the most common ones to find.
In essence, analysing malware is about understanding how a program works, but without having its original source code. It is like having a black box and trying to understand how it works: you can open its guts to try to get the code out, you can launch it and see how it interacts within a system, or you can take and analyse the shape of the box to get clues about it.
What do you do to analyse malware?#
There are different processes and techniques for analysing malware. There are even processes and methodologies that can be followed that standardise how to do it. Even so, analysing malware consists, in essence, of extracting information about it: how it works, what mechanisms it has to evade, how and with whom it communicates, what mechanisms it uses to persist or spread, etc.
The techniques used to extract this information are diverse, but all of them can be broadly divided into the following:
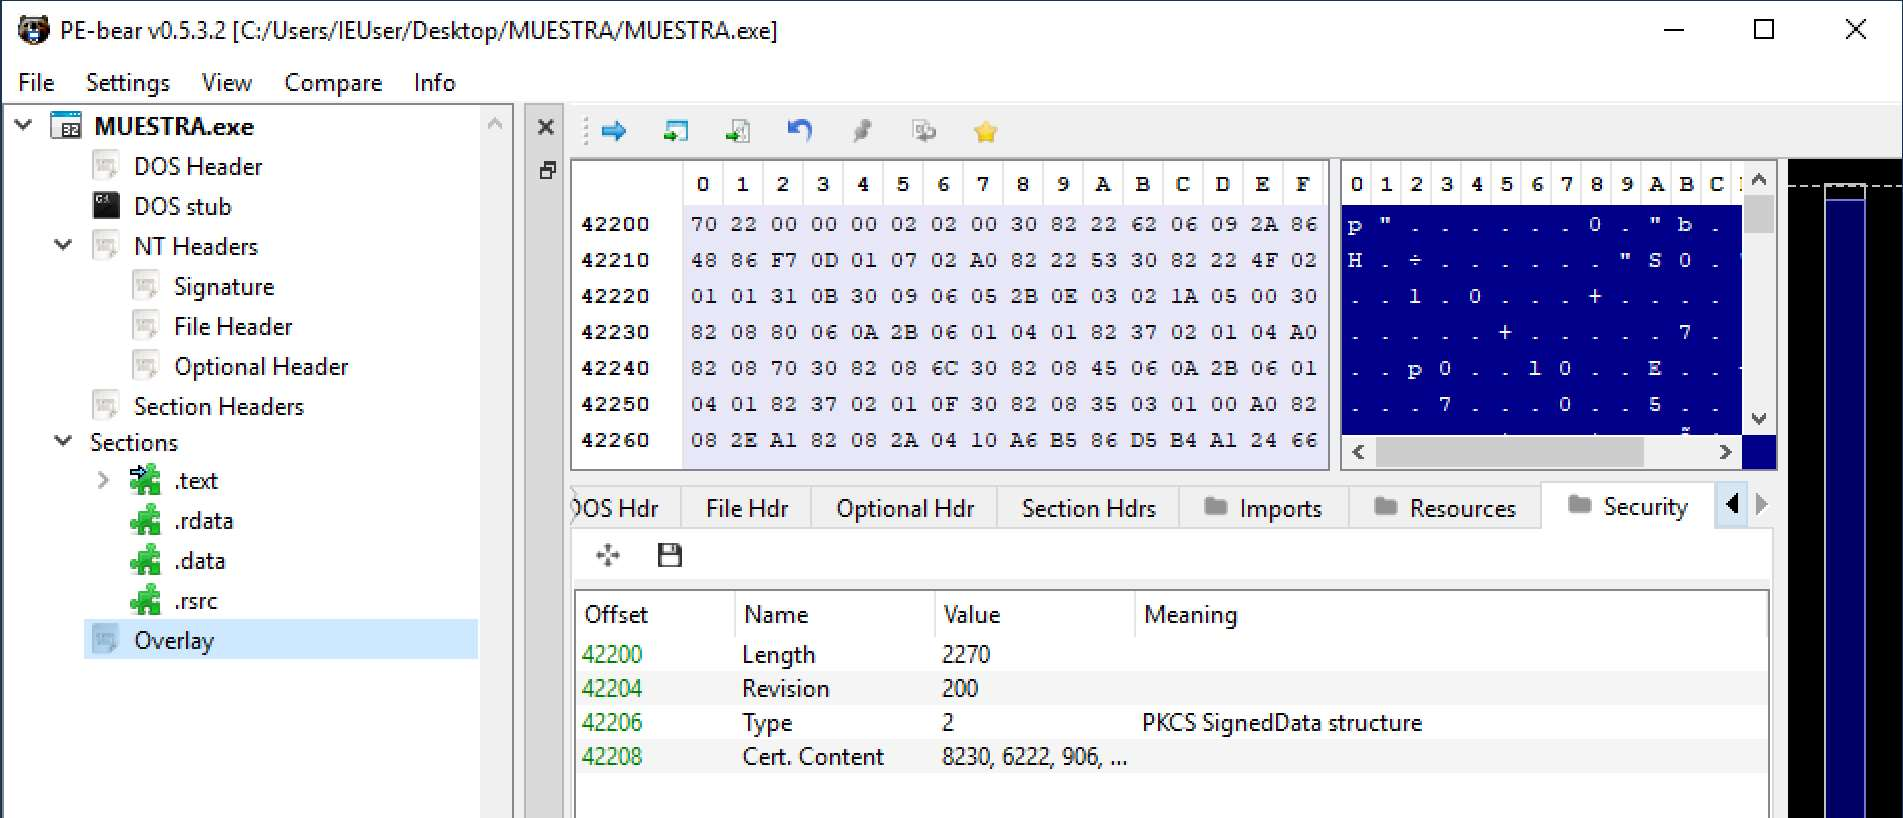
Static analysis: this consists of analysing information about the malware without analysing its code or executing it: metadata, signatures, format and sections of the binary, etc.

Dynamic analysis**: also called behavioural analysis, it consists of analysing the sample while it is running: files with which it interacts, system calls, network traffic, changes in the registry, etc.

Code analysis: as the name suggests, it consists of looking at the code and there are two types:

- Static code analysis: analyse the code without executing it.
- Dynamic code analysis: analyse the code while it is being executed, i.e. debug it.
As can be seen, the static part is all about analysing without executing, while the dynamic part needs the malware running. A distinction can also be made between techniques depending on whether the code is analysed or not. When analysing a sample, some types of tasks are usually performed before others. Static analysis techniques are usually easy to perform and are usually done at the beginning. Analysing the code, on the other hand, is a tedious task and is usually done later on, although this can vary depending on many things.
How do I start?#
There is no doubt here, to analyse malware you need an isolated environment. Taking malware and putting it on your computer to start tinkering with it is a bad idea. No one wants to have malware sneaking onto their computer.
The best way to have an isolated environment is to use a virtual machine. You can use whatever you want (VirtualBox, VMWare, …). In my case I’m more of a VirtualBox user, but any of them is perfectly valid. Once you have the virtualization software, you need to create an ISO with Windows, create the virtual machine, load the image on… Or maybe not?
You can find the ISO yourself, create the machine and install Windows on it, but there is an easier way to get a Windows VM, and that is to download it directly from the internet. The best option is the VMs offered by Microsoft for developers. There are several options. You can opt for a machine that has a full development environment (it’s bigger, but if you also want to use it to develop malware it can be fine), or the virtual machines that have for application testing in Edge, which are lighter and, in my opinion, the best option. Of the latter, in addition to Windows 10, there are also versions for Windows 7 and Windows 8, which for older malware can be interesting. There are versions for the most famous virtualization software, such as VirtualBox or VMWare, so selecting the desired version, downloading the file and loading it into the required virtualization software is more than enough.
What tools do I need?#
With a virtual machine ready, the only thing left to do is to set it up with the necessary tools to analyse malware. There are a large number of tools for analysing malware. Some like IDA or Ghidra will sound familiar to many. At the beginning it is normal to have no idea which ones to install. The best thing to do in these cases is to make use of FLARE-VM, a tool to install and keep up to date a whole set of malware scanning tools.

Using this tool on our machine and leaving it for a while to install everything, we will have a machine with all the tools we need. It is the best option, above all, to test all kinds of tools and, in the future, be able to create your own lab only with the tools you like. The only disadvantage of using something like FLARE-VM is that it will increase the size of your VM considerably (about 60GB of VMs). Other than that, it’s as easy as following the installation steps indicated in its repository.
There are also other tools or distributions that come with everything ready to use. One of my favourites is Remnux, a linux distribution that comes with practically everything. It even has tools to scan for Windows malware. The only problem it has for scanning Windows malware is that we won’t be able to run it on that machine. Still, highly recommended as well.

If you still want to install the tools manually, here are some of the tools that I like. There are many more, and this depends on preferences and needs, but for me, some of the ones I like are:
- For static analysis:
- For code analysis:
- IDA for reversing and analysing code.
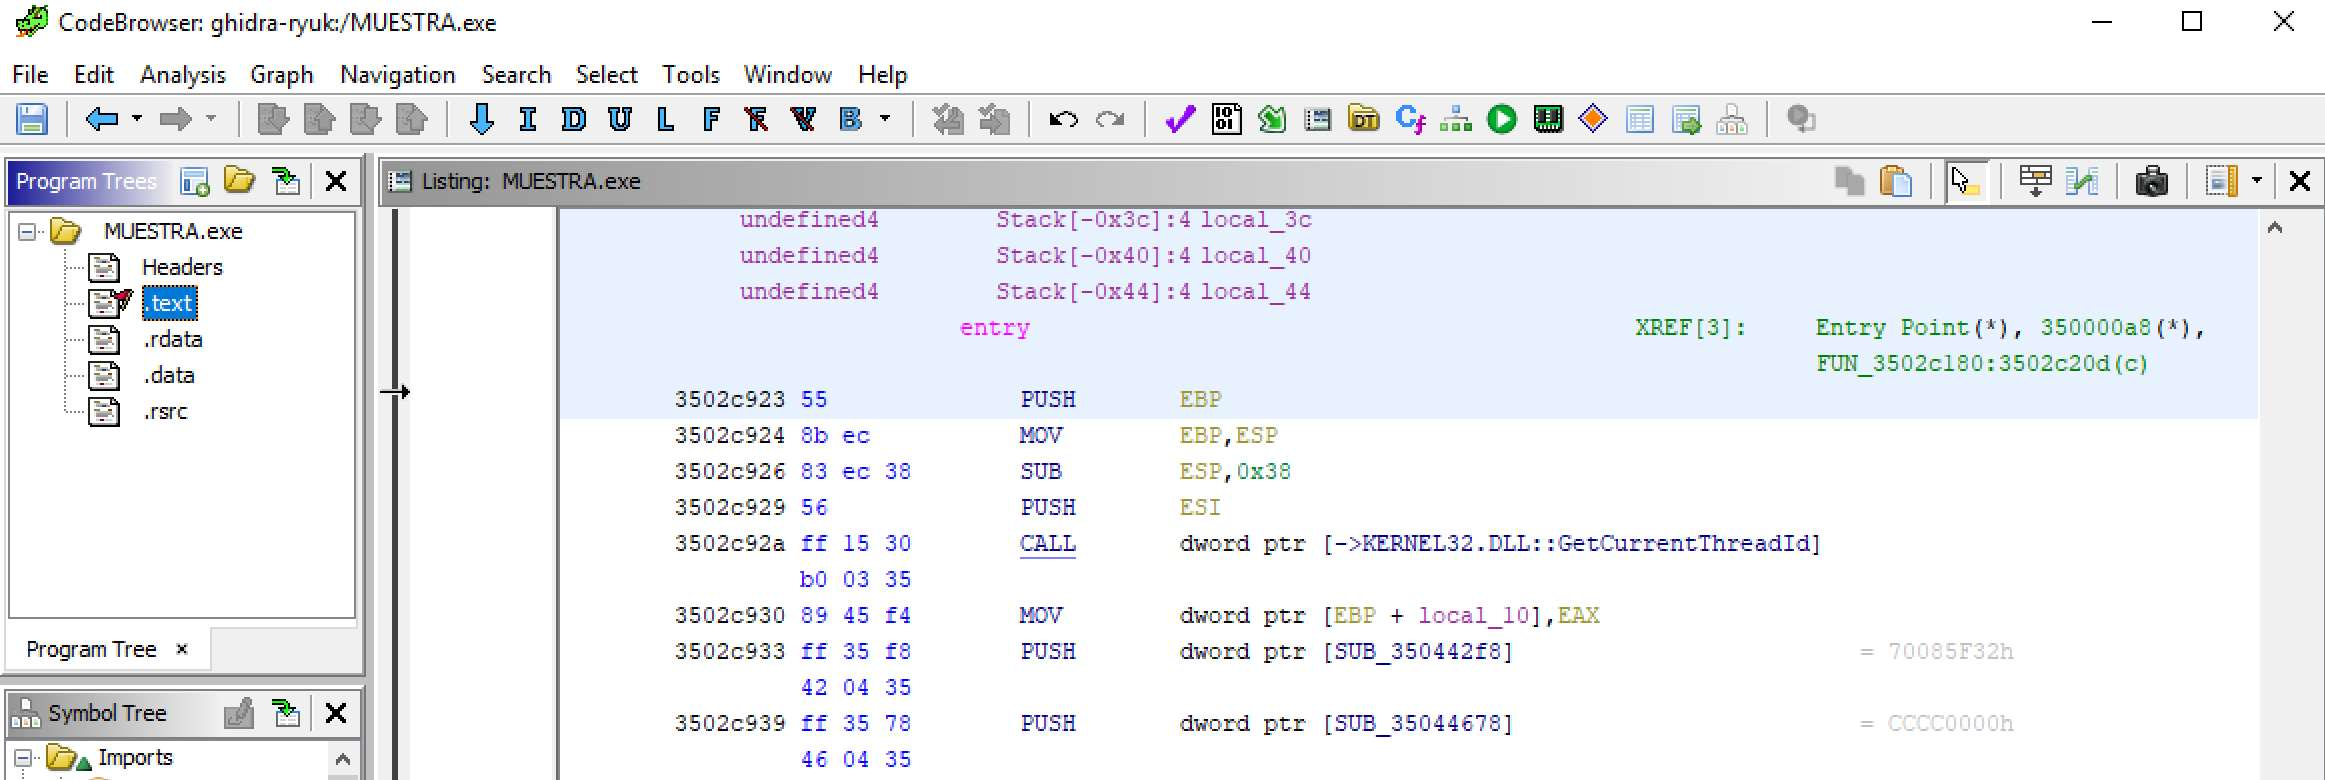
- Ghidra for when you can’t decompile samples in IDA because you don’t have thousands of euros to spend.
- x64dbg for
cracking video gamesdebugging samples.- It improves a lot with ScyllaHide and xAnalizer, two indispensable plugins.
- For behavioural analysis:
- Process Hacker and the Windows SysInternals, especially Process Monitor to be able to monitor and analyse processes and system events.
- Process Monitor PMLs are your best ally.
- Regshot to capture and compare registry changes.
- Wireshark to capture and analyse network traffic.
- Belkasoft Acquisition Tool for memory dumps.
- Process Hacker and the Windows SysInternals, especially Process Monitor to be able to monitor and analyse processes and system events.
- Others:
- HxD as a hex editor.
- A cup of coffee on the side.
What next?#
With everything ready and prepared, all that remains is to find a sample to start playing with. In order not to get too overwhelmed, it is best to opt for malware samples that have already been analysed and are not too complex. Repositories such as TheZoo have famous malware samples. You can also search for specific ones on platforms such as MalwareBazaar.
Another option is to test such tools and techniques with crackmes. A crackme is the equivalent of a Hack The Box or TryHackMe machine but for reverse engineering. They are not specific to analysing malware, but the techniques used are essentially the same. Websites like crackmes.one have many crackmes of varying difficulty to practice with.
In the next posts I will explain some of these techniques on a real malware sample to see how the different techniques are applied and how to use the different tools.
Happy hacking!